Add social sharing tools to your blog using ShareThis by adding the embed code to the embeds.html
To use social sharing, you'll need to create a website tools login with ShareThis, copy the embed script, and add it to your blog (or other website pages) based on your theme configuration as outlined below.
Create Sticky Share Buttons with ShareThis
- Choose Start with Share Buttons.

- Choose Sticky Share Buttons when selecting a ShareThis tool.
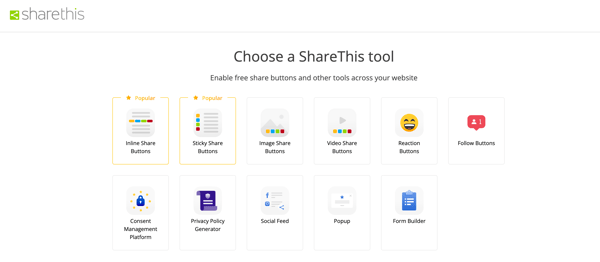
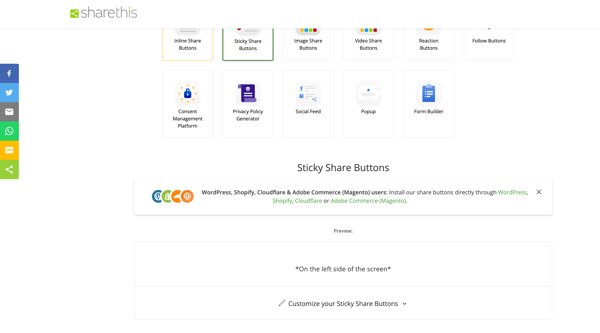
- This will add the buttons to the left side of the screen to preview. Then choose Customize your Sticky Share Buttons below the preview section (before clicking next).
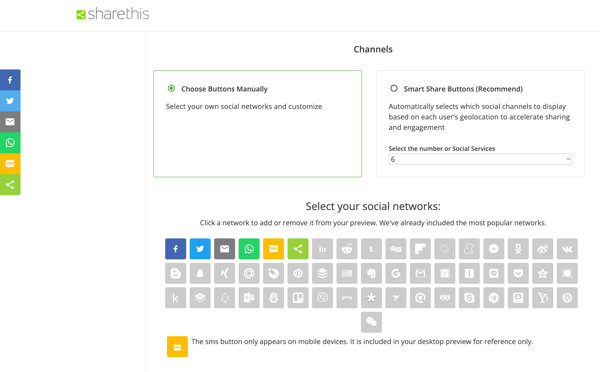
- Choose whether to select the buttons manually or use Smart Share, then select your social networks.
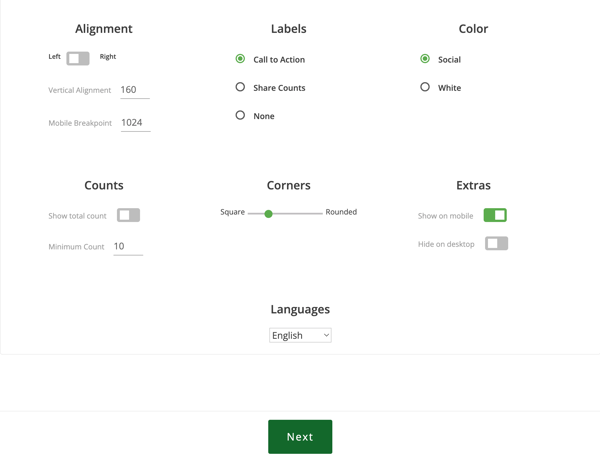
- Set the Alignment, Labels, Color, Counts, Corners, Extras, and Languages.
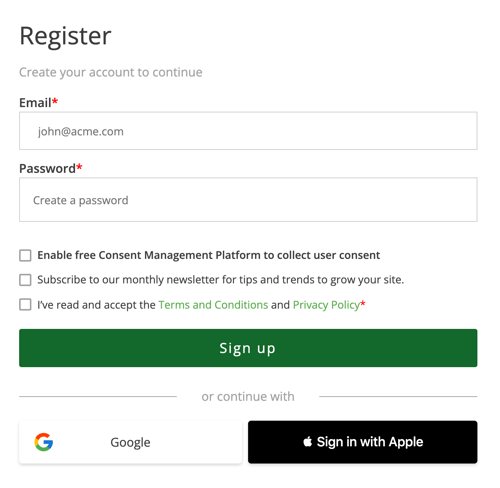
- After you click Next, you'll need to Register for an account.
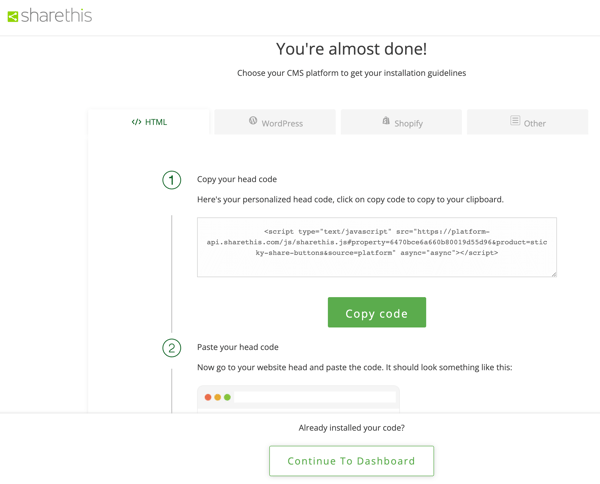
- Click Copy code - you'll paste the code in the embeds.html and can copy it again later, but you won't follow steps 2 and 3 shown. Once you copy the code, click Continue to Dashboard.
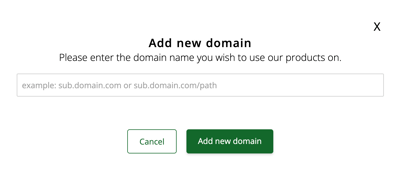
- Type your domain in the field, then click Add new domain.
Adding ShareThis to Power Pro Theme Blog Posts
If you are using a child theme:
- follow the steps to clone the embeds.html to your child theme
- paste the script in the Blog Post Pages only - Page Header macro section
If you are using the @marketplace theme (no child theme):
- follow the steps to add the script to the Blog Post header HTML
- make sure to click use custom header HTML for blog posts and paste the script so it only applies to posts and not the listing page(s)
Adding ShareThis to your entire website can cause performance issues, if you want to add to non-blog content pages, we recommend adding to individual pages following the steps to add code to the page head HTML