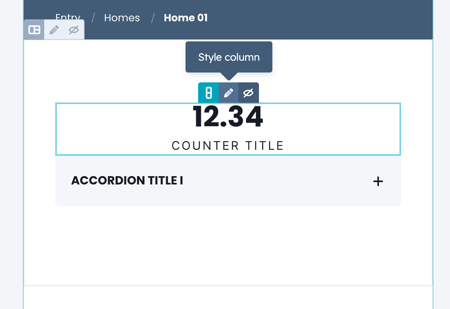
Start with adding a section layout and configure the section settings before dragging the module to the page
How to add a Sec Module to the page
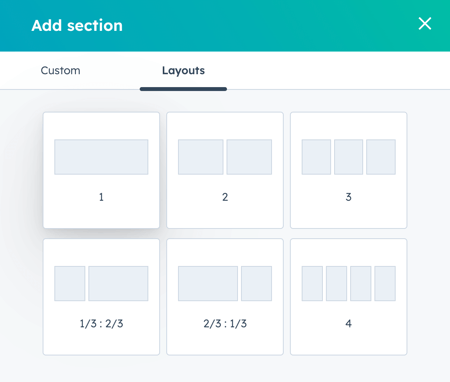
- Hover over the area between two sections and click the + icon that appears

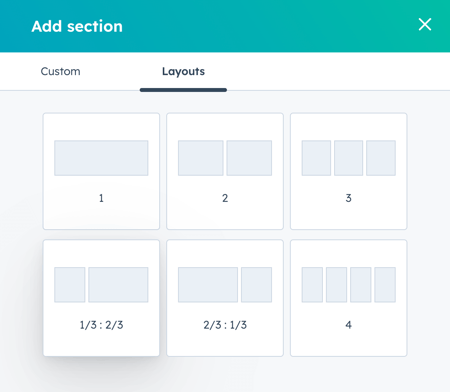
- Under Layouts, choose the 1-column layout
- Hover over the upper right of the section, click the pencil icon to style the section

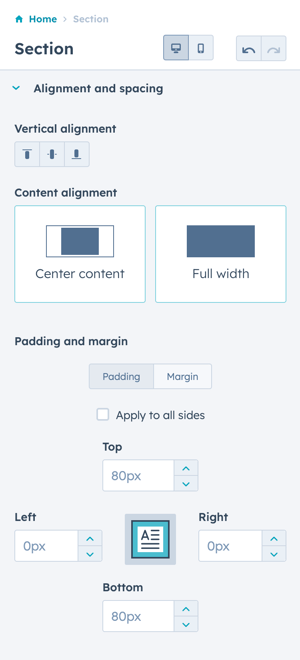
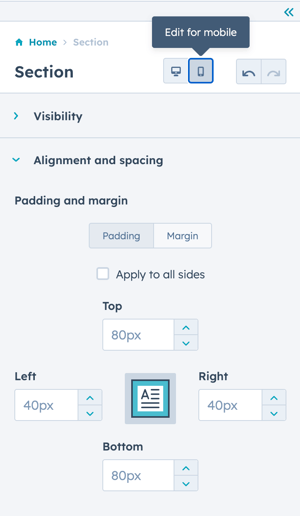
The white space surrounding the "Drop modules here" dotted outline is considered the section padding, you'll want to remove this when using Sec Modules. - Expand the Alignment and spacing section to reveal the section settings
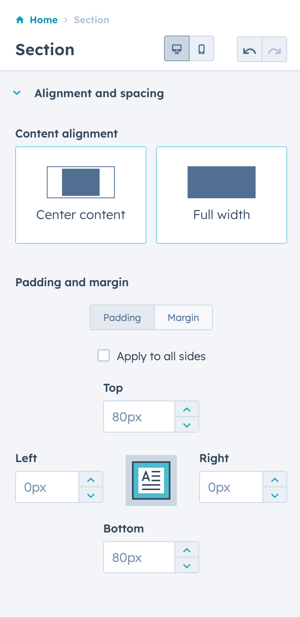
- Change Content alignment to Full width
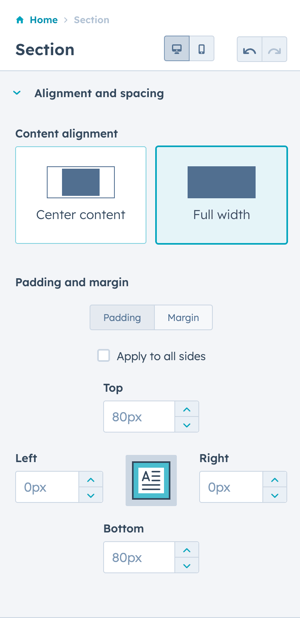
- Check the box "Apply to all sides" to ensure the padding is applied for all breakpoints (desktop, tablet, and mobile)
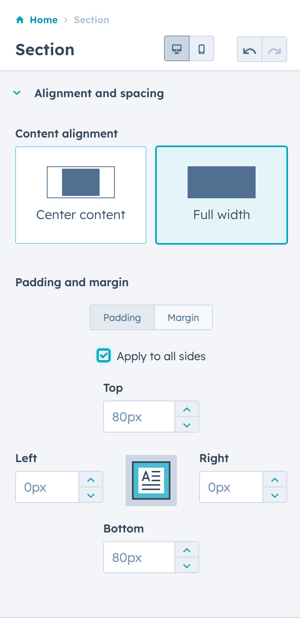
- Change the Top padding to 0px
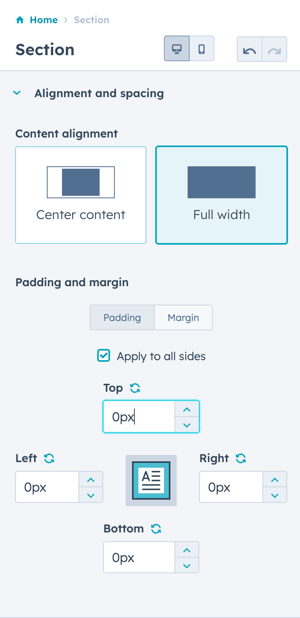
The section will look like this now:
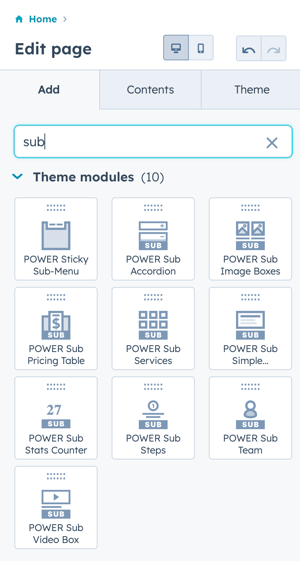
- Search for the module you want
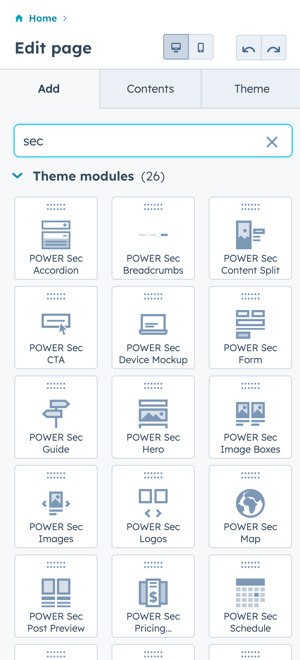
- Click the module in the sidebar and drag the module to the section you just created

- Configure the module Layout settings
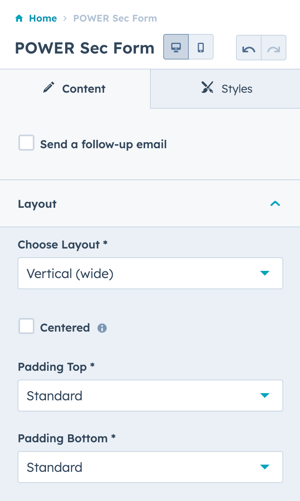
When you follow these steps, you'll reduce the likelihood that you inadvertently add a section module to an existing section with another module (this can mess up the responsiveness of the sec module).
Add a module to a custom DnD section
- Hover over the area between two sections and click the + icon that appears

- Under Layouts, choose the layout you want to use
- Search for the module you want
- Click the module in the sidebar and drag the module to the section you just created

- Configure the module Layout settings, add any additional modules to the columns and rows, and fully configure the content

- Edit the Section style settings for desktop
- Click the mobile icon to change from desktop to mobile
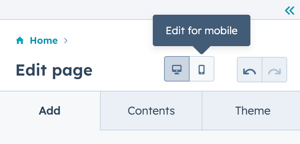
- Edit the Section style settings for mobile
- Hover over the column to edit each of the Column style settings for desktop

- Edit each of the Column style settings for mobile, this is how you'll control the vertical spacing between the columns
